
Intro into PSP reshell
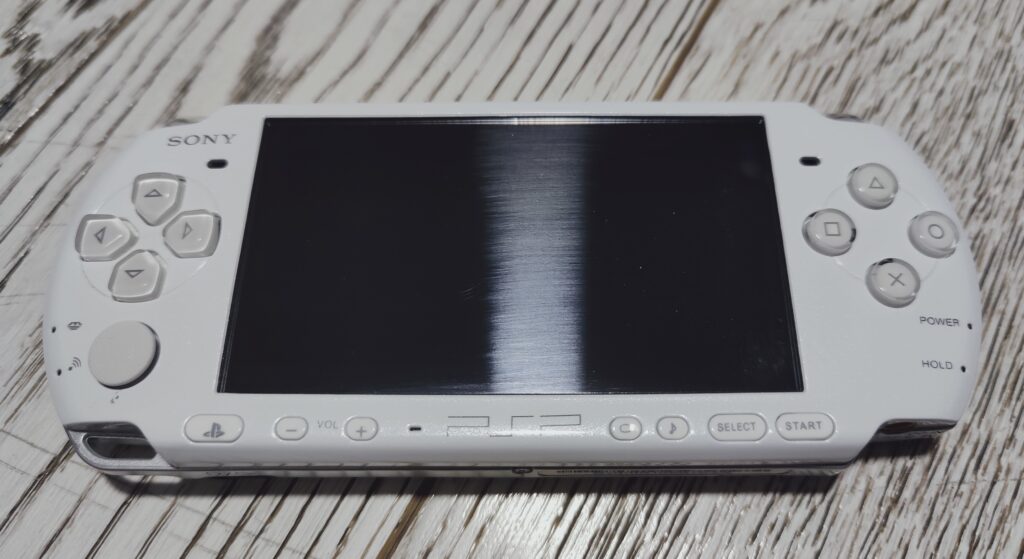
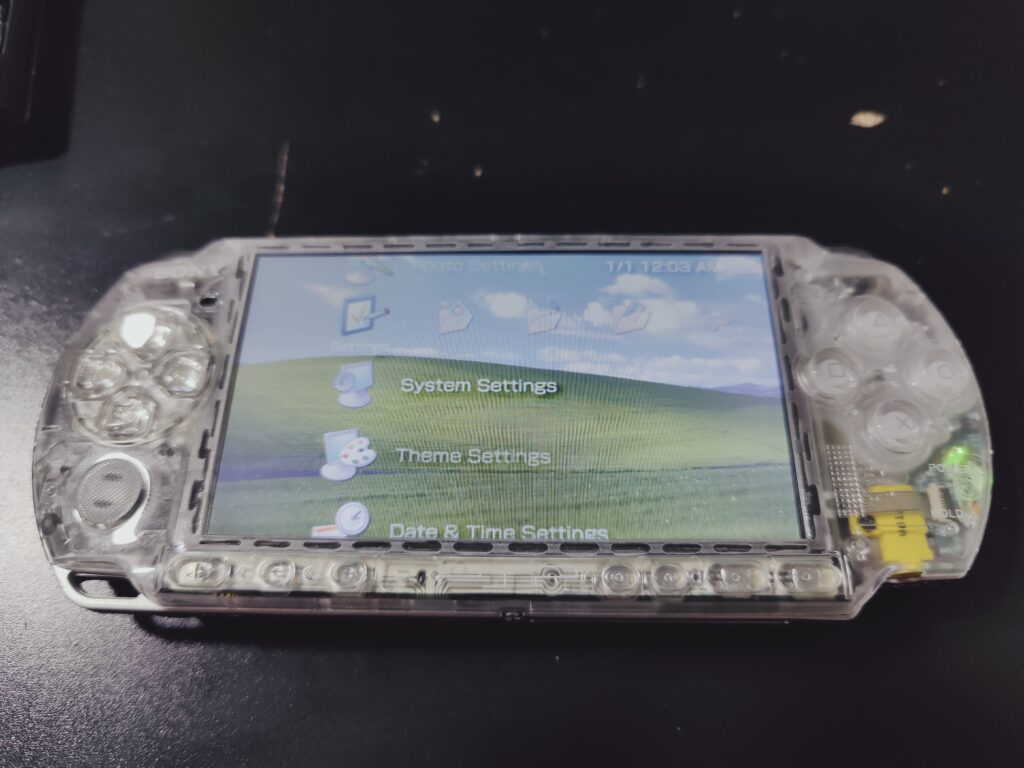
Versions 2000 and 3000 of PSP are very similar internally. They are so similar in fact that you can buy PSP 2000 in a case of PSP 3000 sold as PSP 3000. That’s what I personally experienced with this particular white PSP.
I played games on it for a year before finding out. Quality of the shell wasn’t very good and it is definitely aftermarket, so I decided to fix this. Let’s reshell!
Shell disassembly
PSP doesn’t have many screw types but I would still advice you to divide them onto different piles during disassembly.
Remove the battery first.
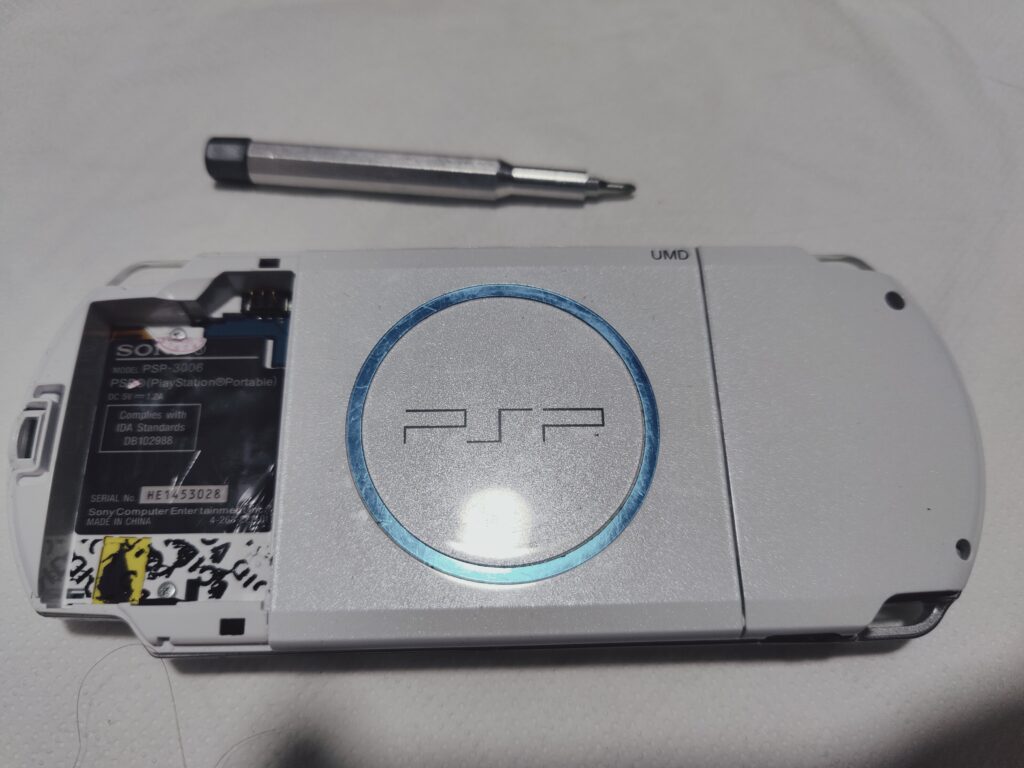
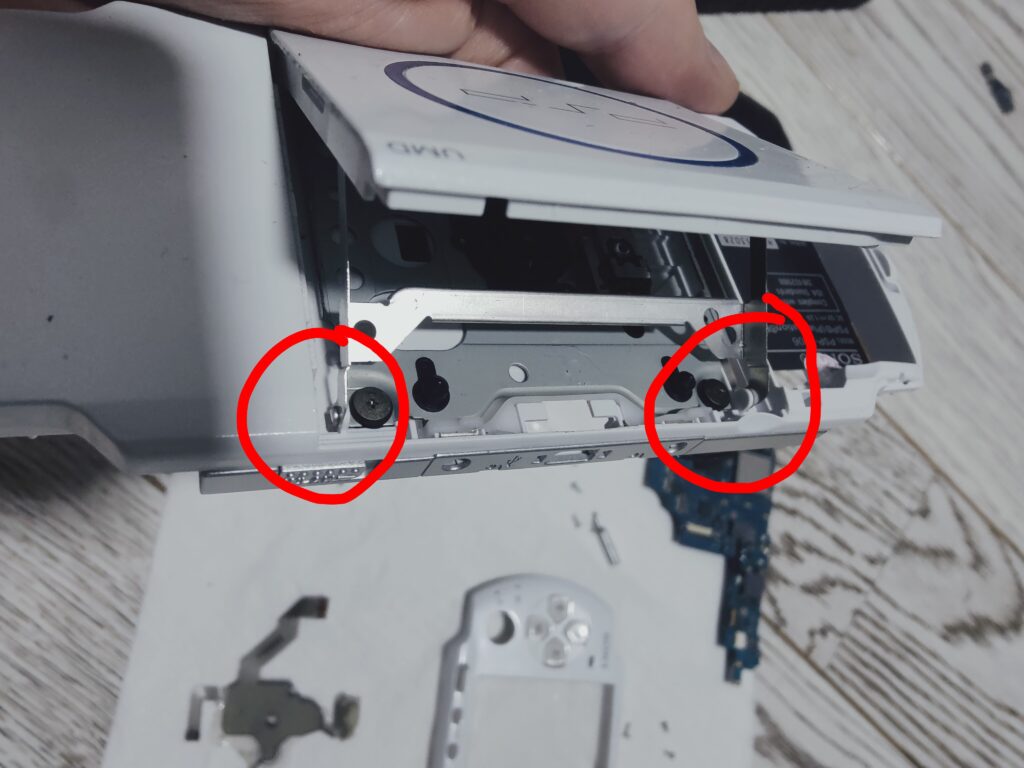
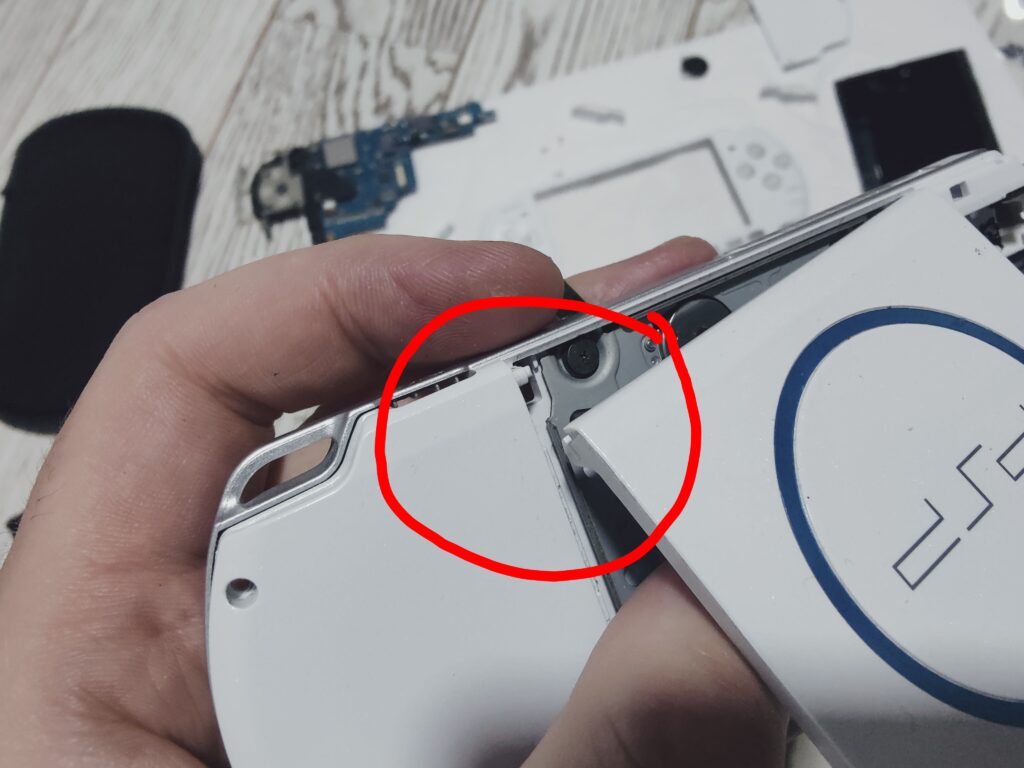
Shell is being held by seven screws. If look at PSP from the back two holes with screws will be on the right. And the other two are in the battery case. Most likely it will be under stickers. They might be there even if the shell is not original because Chinese sellers usually provide identification stickers together with the shell kit and some people apply them to make console to look more “legit”.
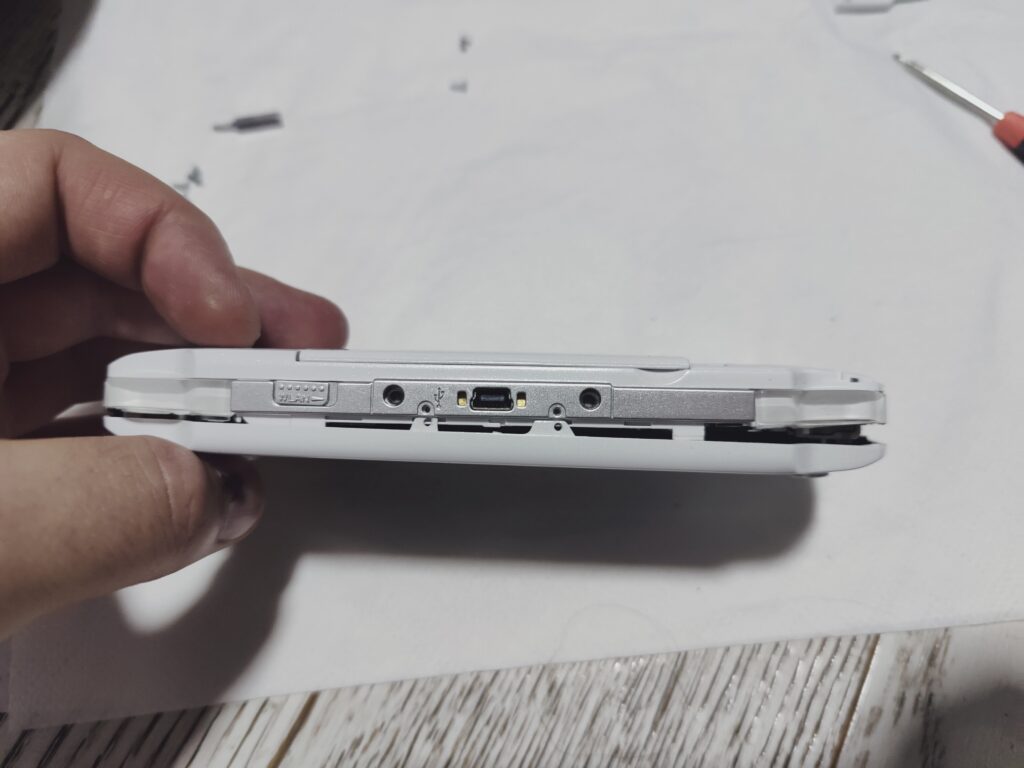
Other 3 screws are at the top and bottom sides of the console.
Now carefully remove the faceplate. Put it aside together with the shoulder buttons, cross pad, action pad and bottom keys.
Removal of electronic components
The screen over here is being held by the bottom buttons bracket. Bracket is being secured on the left and right sides. Remove it carefully: it’s connected to the motherboard by a fragile flat cable in the middle. Then pull out the screen. You will now have access to the flat cable connectors on the motherboard.
You can use a toothpick or flat screwdriver to lift the holder on the connectors to release the flat cables of the screen and bottom bracket. Be very gentle because flat cables are very easy to tear apart.
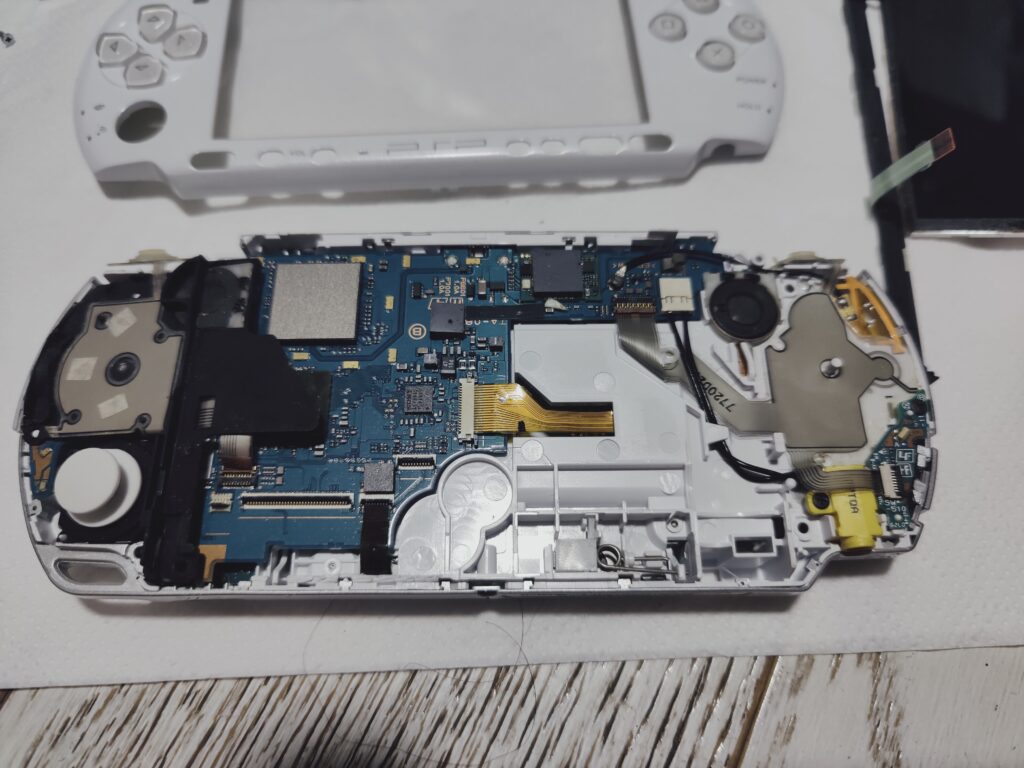
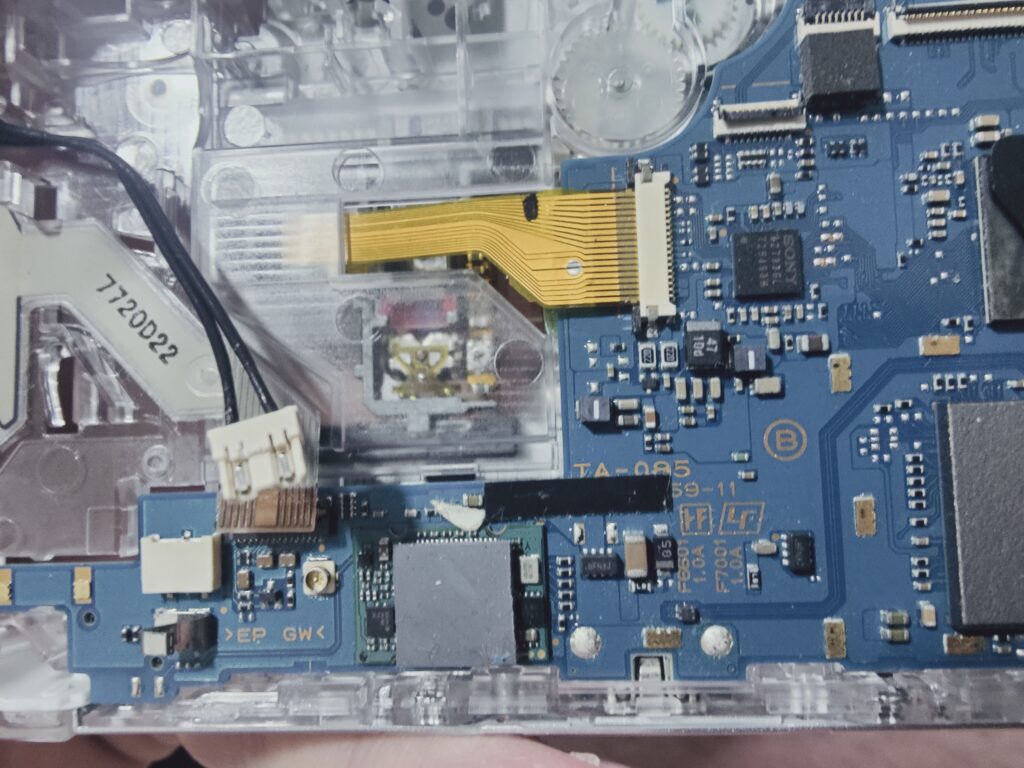
If you weren’t sure which model is your PSP now is the moment of truth for you. Search for “TA-0XX” number on the motherboard. If it’s “TA-08X” then this is motherboard of PSP 2000. If it’s “TA-09X” then this is a motherboard of PSP 3000.
Next remove the right speaker. It’s being held at the bottom part by a long plastic pin. Just move it to the left to release the speaker.
Disconnect the gray action pad’s flat cable from the motherboard and put the pad aside. Unscrew and remove power switch board and power connector at the bottom right.
Disconnect wi-fi antenna. I didn’t move it to the new case because PSP’s wifi is barely usable nowadays. It’s up to you if you need it.
From the motherboard disconnect two flat cables of the disc drive.
Slide up the left shoulder button from the slot – just let it be there but not plugged into the case to avoid breaking the flat cable.
If you have PSP 3000 – disconnect flat cable of the analogue stick from the motherboard. PSP 2000 is using socket connector instead of a cable.
Now you can remove the motherboard. Lift the bottom part and pull it to you. It’s being held there by the USB port.

You will now have access to the stick and headphones connector board. Unscrew and remove them.
PSP’s disk bay disassembly
Turn the case and open the disk bay. Disk drive is the last part we need to detach.
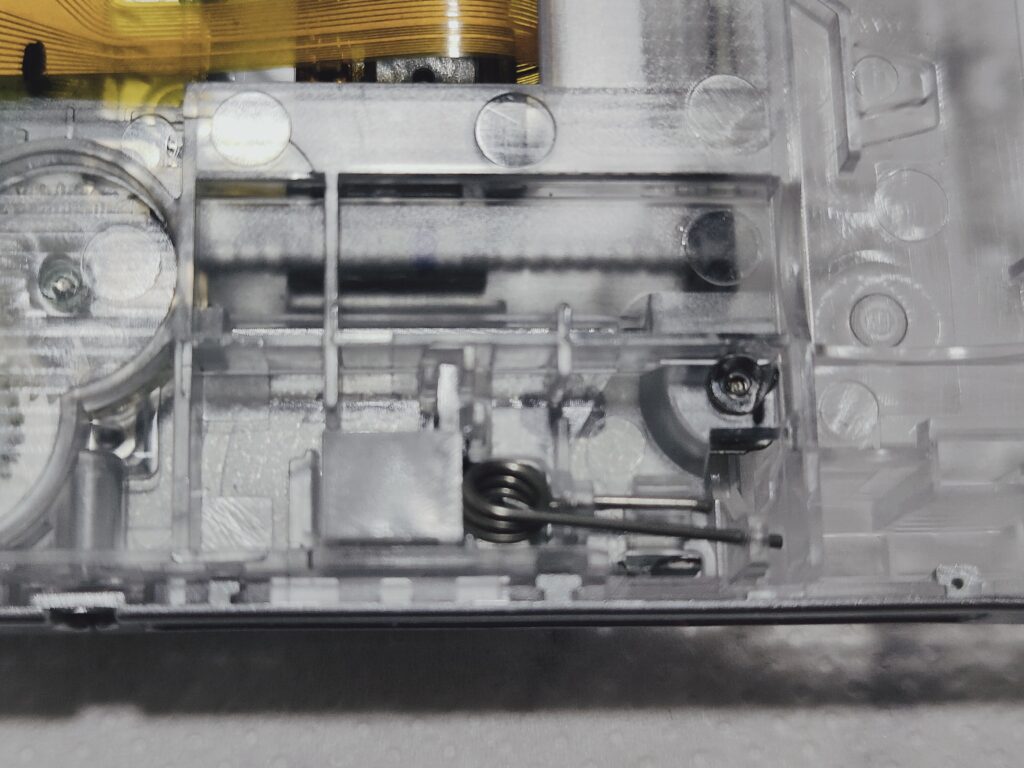
First – there is a metal sliding bridge that moves when you open the drive. On top just pull it off the pins. On the bottom there are wider holes on the slide cuts that you can use to pull it out.
Now you need to remove the spring – it’s on the motherboard’s side of the shell. It’s being held by a small structural block – remove it first then pull out the spring.
Next part is a bit tricky because cover of the disk drive is being held on plastic pins. To detach it from them you need to slightly bend the case and then remove the cover. Don’t apply too much force, the case is pretty flexible and should allow you to remove the cover relatively easily.
Finally you can unscrew the drive. It’s being held just by four screws.
Congrats! All parts are removed from your old shell by now.
Assembly with a new shell
Assembly into the new shell goes in the reverse order. I will concentrate only on the tricky moments of the process.
Most likely the new shell will have disk drive cover already installed – so pull it off first and then install the disk drive and install the cover back into the place. Then install the spring. Don’t forget about flat cables – they should be pushed through the corresponding holes.
If your system is PSP 2000 and the case is for PSP 3000 the problem you’ll encounter is with the headphones board. There are two pieces of plastic that are blocking it from being installed properly. Photo below shows the removed parts of the PSP’s shell I’ve got a year ago. So, I had no choice than to remove it from the new shell as well.
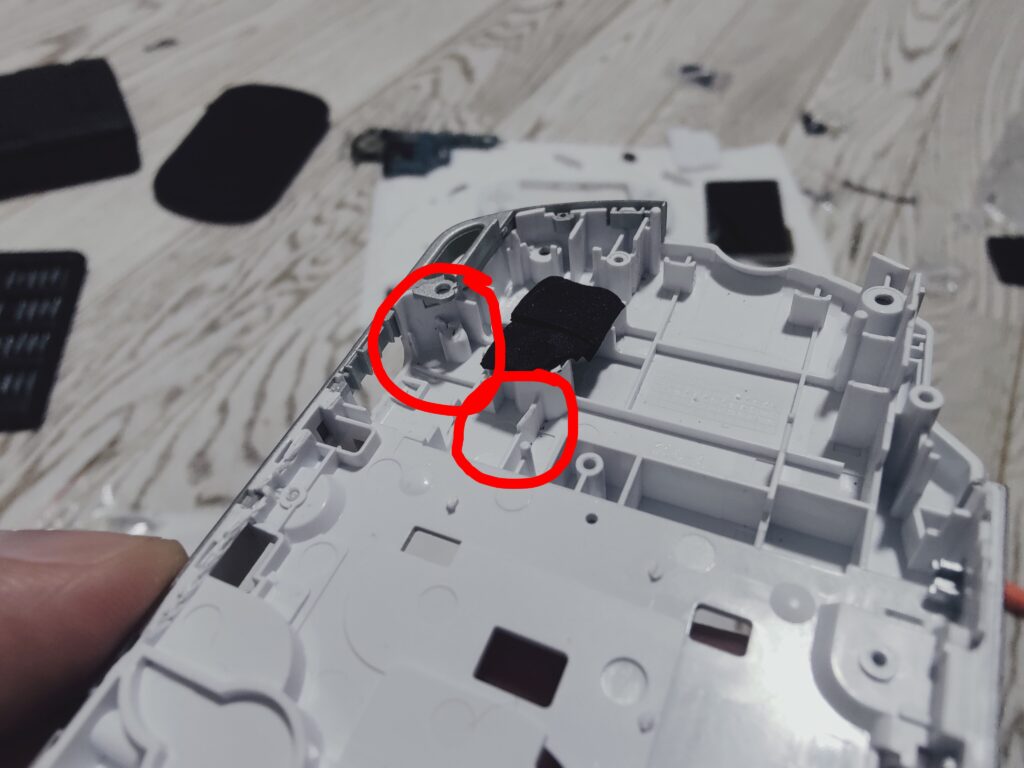
I have a micro-drill to cut through the plastic. But pliers will work as well. Headphones board should easily fit there after plastic is removed without any tention.
Install analogue stick, motherboard and other small boards. Don’t forget to connect the flat cables, including the ones that correspond to the disk drive.
You might have noticed that the shell has its own plastic cover on the top of the screen. There is also an adhesive on the sides of the screen that protects the internal area from the dust. Don’t remove it. I would honestly not recommend even replacing it. Only if you know what you’re doing because this part requires some skill.
You need to make sure that screen’s surface is as clean as possible and the top shell’s bottom screen part is as clean as possible as well. Otherwise you will have unreachable pieces of cloth and hair stuck between the shell and the screen.
Connect bottom buttons panel, then connect the screen to the flat cable sockets. Put the screen on top of the motherboard and put bottom buttons panel in place. Clean your table with something wet to remove the dust completely and overall for the last step I would advice you to have as cleanest environment as possible.
Remove protective films from the new shell screen part if any. Even under a protective film the surface may be oily so I wash it with tap water and soap anyway. To wash or not to wash is up to you.
Obviously you can’t wash the screen itself this way so the best approach I found is to use fiber-cloth. As gentle one as you can find. I used the one that came with my glasses. Don’t use regular cloth cause it might leave small scratches. Find something intended to be used with screens.
You need to wipe the screen until it will look like a new one or close to it.
Put cross pad and action buttons into the new screen’s shell. Make sure that cross pad has both cross and rubber pad. Action pad doesn’t have rubber pad and presses onto the gray pad placed near the motherboard directly.
Put bottom bracket buttons on top of the bottom bracket panel because they won’t hold in the screen shell. Install left and right shoulder buttons into the bottom shell (make sure that rubber buttons itself are installed in corresponding slots).
Put the top shell gently on the top of the bottom shell. You can correct bottom bracket buttons with a toothpick if needed. Make sure that shoulder buttons are held correctly.
Now just screw 4 bottom screws and 3 side screws. If you did everything correctly then congratulations! You reshelled your PSP.
1 thought on “How to reshell your PSP 2000/3000 – full guide”